Company Group Setup
Define product groups within each company to organize products into categories (e.g., Pharma, OTC, Surgical).
How to Open
Menu → Setups → Company Group
Keyboard Shortcuts
F12 Save F5 New/Clear Esc Close
🖼️
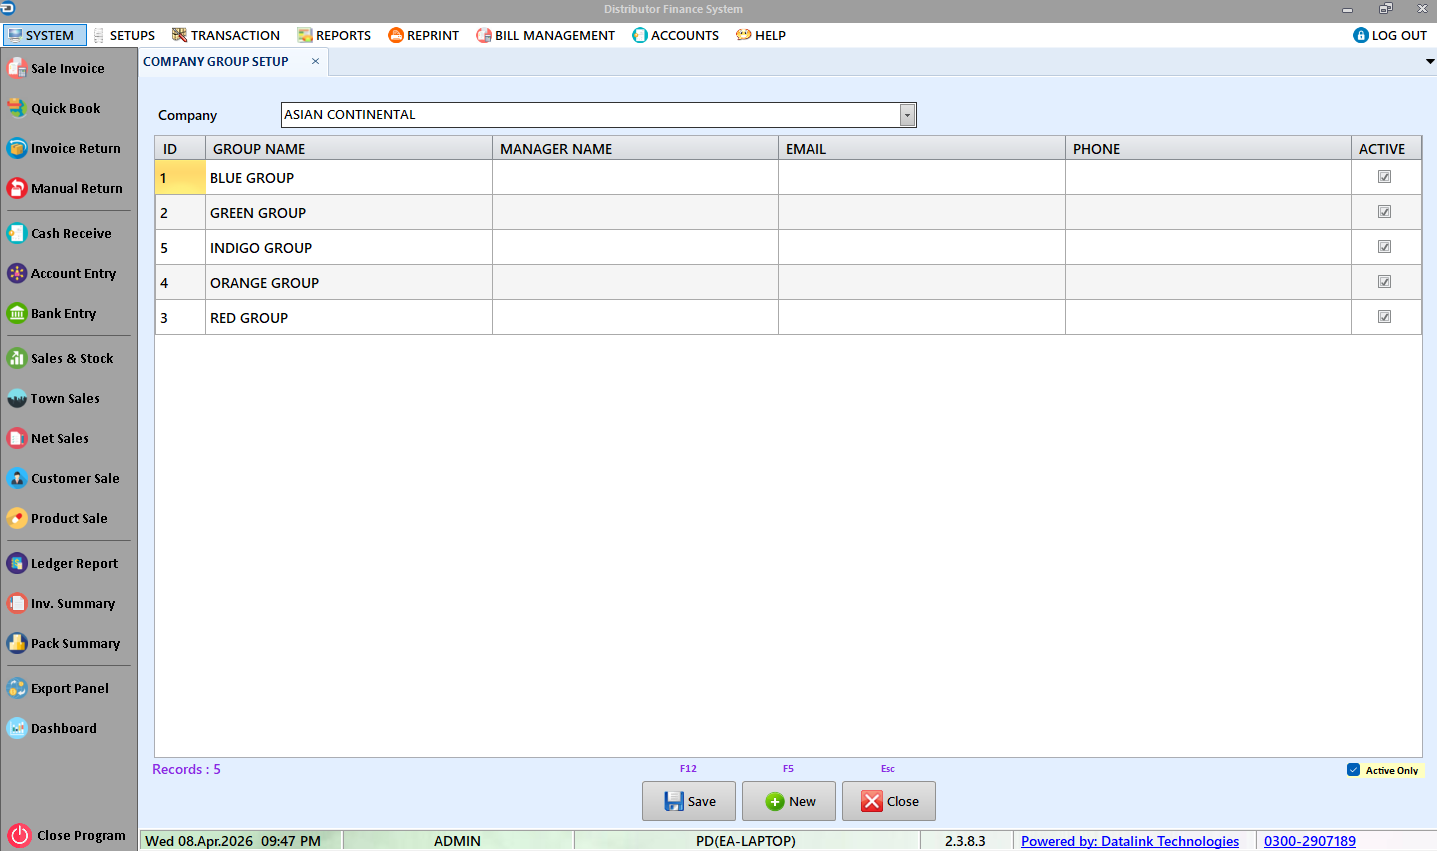
Form Preview
📝
How to Use
➕ Adding a New Row
- Open Company Group Setup from the menu
- Select the filter dropdown (Company) if applicable
- Click New to add a blank row at the bottom of the grid
- Fill in the required columns
- Press F12 or click Save
✏️ Editing Existing Rows
- Select the row you want to edit in the grid
- Click on the cell and modify the value
- Modified rows will turn light yellow
- Press F12 or click Save to save all changes
📋
Field Descriptions
Company (Filter) Required
Select the company from the top dropdown. The grid shows all product groups for that company.
📊
Grid Columns
| Column | Type | Required | Description |
|---|---|---|---|
| Group Name | Text | ✅ | Name of the product group (e.g., PHARMA, OTC, SURGICAL). Must be unique within the company. |
| Email / Desc | Text | Contact email or description for this group's manager or coordinator. | |
| Manager Cell | Text | Mobile number of the group manager or representative. | |
| Phone 2 | Text | Alternate contact number. | |
| Active | Checkbox | Active status. Inactive groups are hidden from product setup dropdowns. |
🔘
Buttons
| Button | Shortcut | What it Does |
|---|---|---|
| 💾 Save | F12 | Saves all changes. The system will ask for confirmation before saving. |
| ➕ New | F5 | Adds a new blank row to the grid for data entry. |
| ❌ Close | Esc | Closes the Company Group Setup screen. |
💡
Important Notes
Company → Group → Product: Products are organized hierarchically: Company → Group → Product. Groups must be created before adding products.